

 EN
 English
 Español
 عربى
 русский
 中文简体

Kaixin, a high-tech enterprise specialized in the R&D, production and sales of polymer pipeline valves.
Ball Valve Failure: Causes, Warning Signs, and Practical Fixes
A field guide for plant engineers, maintenance teams, and buyers who need to keep corrosive fluid lines running.
Most ball valve failures do not begin with a dramatic rupture. They begin with a small seat leak, a handle that feels tighter than it did last month, or a few drops around the stem that get wiped away and forgotten. By the time the valve is fully stuck or leaking steadily, the damage is usually already in the sealing surfaces, the stem, or the body connections.
The practical takeaway: ball valve failure is usually a wear, contamination, or installation problem, not a random event. If you know the common failure paths and check them during planned maintenance, you can often replace a cheap component instead of losing a production line.
Why Ball Valves Fail: The Short Answer
A ball valve controls flow with a drilled ball rotating against two seats. Anything that prevents that ball from seating cleanly, or that damages the stem and body seals, will cause failure. In industrial piping, the dominant causes are:
- Seat and ball surface wear from frequent cycling, abrasive media, or dry operation.
- Chemical attack where the valve material is not compatible with the process fluid, temperature, or concentration.
- Contamination such as pipe scale, weld slag, or crystallized media trapped between the ball and seat.
- Stem and packing damage caused by misalignment, over-tightening, or operating without the handle properly installed.
- End connection leaks from missing thread sealant, damaged gaskets, or thermal cycling.
A ball valve rarely fails because it is a ball valve. It fails because the seat, stem, or connection was asked to handle something it was not specified for.
For plastic and lined valves used in chemical, electroplating, and wastewater service, material compatibility and temperature limits matter as much as mechanical wear. A valve can pass a pressure test on day one and still fail within months if the elastomer or thermoplastic seat swells in the wrong medium.
Common Ball Valve Failure Modes and Symptoms
| Failure mode | Typical symptom | Common root cause | First check |
|---|---|---|---|
| Seat leakage | Flow continues when the valve is closed; visible drip from downstream | Worn PTFE or elastomer seat, scratched ball, trapped debris | Isolate the line, cycle the valve, inspect media for solids |
| Stem leakage | Moisture or drips around the stem or handle | Damaged packing, stem corrosion, side load from misalignment | Check handle alignment and stem nut tightness |
| Stiff or seized operation | Handle requires excessive force or will not turn | Media hardening, corrosion, swollen seals, lack of cycling | Confirm media temperature and recent operating history |
| End connection leak | Drip at threaded, flanged, or socket joint | Missing sealant, damaged gasket, thermal expansion stress | Inspect joint for movement, cracks, or gasket extrusion |
| Body or ball fracture | Sudden leak, cracked body, pieces in line | Water hammer, over-pressure, incompatible material, manufacturing defect | Review pressure spikes and system operating limits |
The table is not a substitute for a proper failure investigation, but it helps maintenance teams prioritize. A stem leak is usually less urgent than a body fracture, yet both can signal a specification problem that will repeat on the next valve.
Leakage Paths: Where Ball Valves Actually Fail
Ball valve leakage has three main paths, and each points to a different fix. Understanding them prevents unnecessary valve replacement.
Seat leakage
This is the most common complaint. The ball no longer seals against the seat, so fluid passes even when the handle is at 90 degrees. Causes include scratches from abrasive particles, chemical swelling of the seat material, or thermal deformation. In plastic valves, over-tightening the end connectors can distort the seat area and create a leak path.
Stem leakage
Fluid escapes around the stem, often appearing as a drip at the handle or a damp patch on the valve top. It usually comes from packing wear, stem corrosion, or side loading when the valve is installed on a misaligned pipe. Operating a valve without the handle installed can also damage the stem assembly because the handle helps maintain alignment.
End connection leakage
Threaded, flanged, and socket ends can leak if the joint is not sealed correctly. On threaded ends, missing thread tape or sealant is a frequent cause. On flanged ends, uneven bolt tightening or a damaged gasket will show up as a drip at the flange. Thermal cycling can loosen joints over time, especially where different materials expand at different rates.
Operating and Installation Mistakes That Shorten Valve Life
Many ball valve failures are created before the valve ever sees process fluid. The following mistakes are common in industrial piping projects and can usually be corrected during installation review.
- Using the valve as a throttling device. Ball valves are designed for on-off service. Partially open operation exposes the seat to high-velocity erosion.
- Ignoring media compatibility. A valve rated for water service may fail quickly in concentrated acid, solvent, or hot caustic.
- Over-tightening threaded connections. This cracks plastic bodies and distorts seats, creating leaks that appear soon after commissioning.
- Leaving piping debris in the line. Weld slag, sand, and scale scratch the ball and embed in the seat.
- Failing to cycle the valve. Valves that sit in one position for years can seize from media hardening or corrosion.
Warning: Do not operate a ball valve without the handle installed. The handle helps keep the stem aligned and prevents damage to the stem assembly. If the handle is missing, replace it before cycling the valve.
Material and Media Compatibility: Where Good Valves Fail
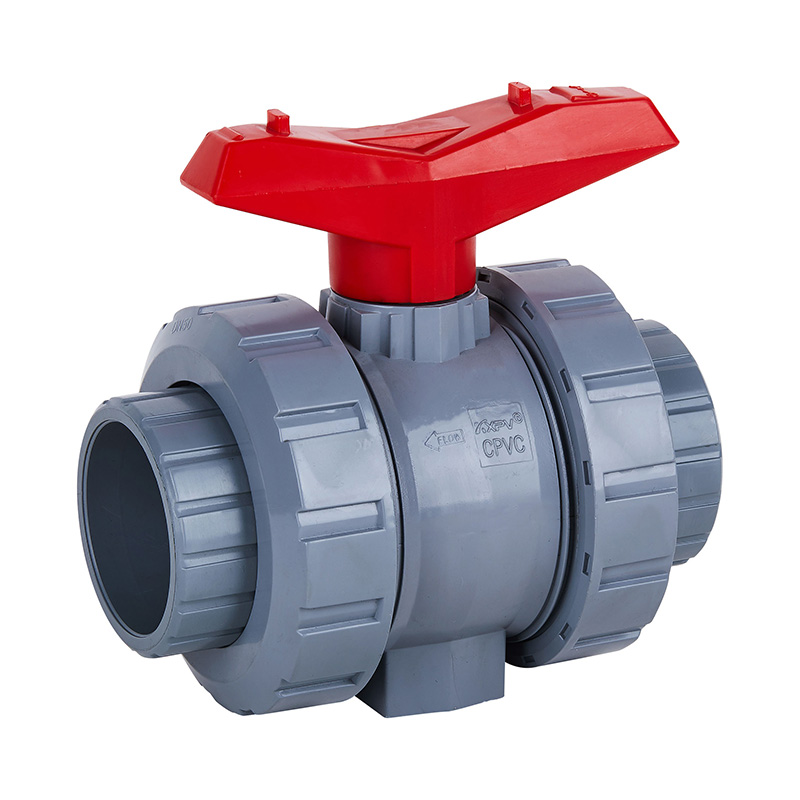
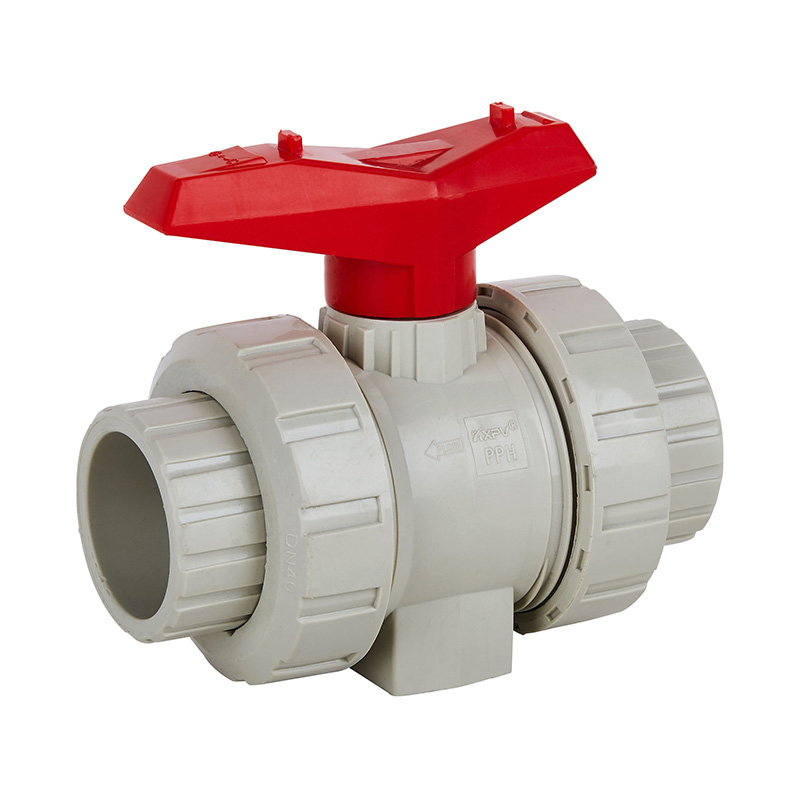
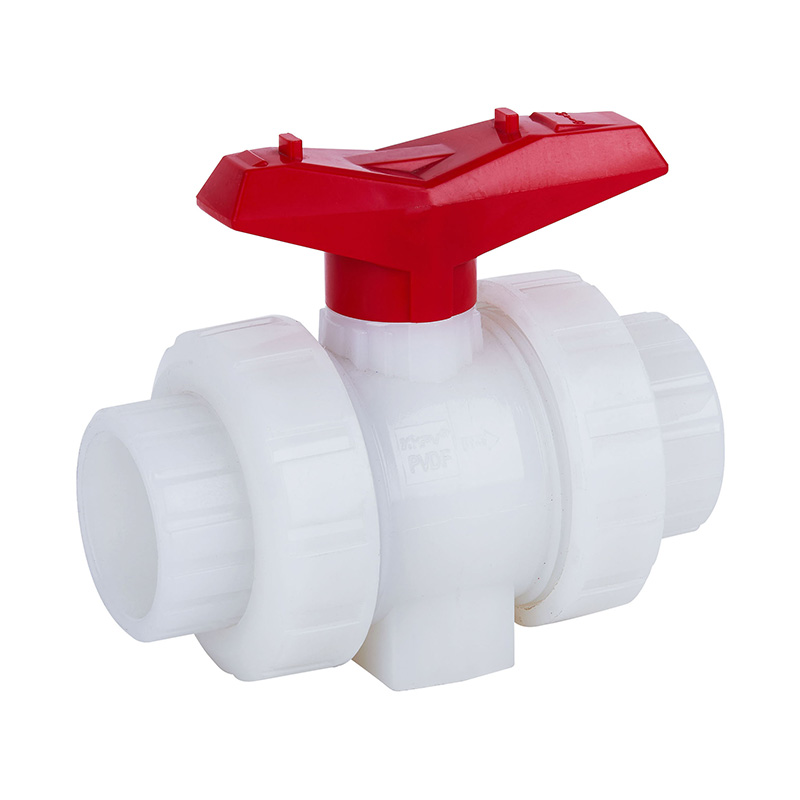
In corrosive service, the valve body may survive while the seat, packing, or stem fails. That is why material selection must consider every wetted component, not just the body. Common non-metallic materials include PVC-U, PVC-C, PVDF, PPH, and FRPP. Each has different temperature limits and chemical resistance.
For example, PVC-U is economical for many acid and caustic lines at moderate temperatures, but it can soften or stress-crack under certain solvents and higher temperatures. PVDF offers broader chemical resistance and higher temperature capability, but it costs more and requires different installation practices. PPH and FRPP are often chosen for drainage, wastewater, and mixed chemical streams where cost and chemical resistance need to be balanced.
Info: Always confirm the maximum continuous temperature, concentration, and pressure before specifying a plastic ball valve. A valve that performs well in a 20% acid solution at 20°C may fail quickly in the same solution at 60°C.
Inspection and Troubleshooting: A Practical Sequence
When a ball valve fails, avoid replacing it immediately. A short inspection can reveal whether the problem is the valve, the installation, or the process. Use this sequence:
- Inspect the exterior. Look for moisture or drips around the stem, body, and end connections. Identify the exact leak path.
- Review operating history. Check how often the valve is cycled and whether it is used for throttling.
- Confirm media conditions. Verify temperature, concentration, and the presence of solids or suspended particles.
- Isolate and cycle the valve. With the line safely isolated, turn the handle through its full range. Note stiffness or grinding.
- Check the installation. Look for pipe misalignment, over-tightened connections, and missing thread sealant or gaskets.
- Decide repair or replace. If the body is cracked or the ball is deeply scratched, replacement is usually more reliable than repair.
Success: A valve that is correctly sized, installed, and cycled on a planned schedule will often outlast the piping around it. The key is to catch seat and stem wear before it becomes a process leak.
Danger: Never loosen or remove a valve body, stem, or end connection while the line is pressurized. Chemical media can cause severe injury. Always isolate, depressurize, and drain the line first.
Prevention and Specification Notes for Industrial Piping
Preventing ball valve failure starts with specification. For chemical, electroplating, and environmental projects, the valve should match the pipe material, the standard used by the project, and the actual operating conditions. Common standards include GB, ANSI/ASTM, and JIS. Size ranges for industrial plastic valves often run from DN15 up to DN300 for automated valves, while manual butterfly valves can reach DN1000 and pipe systems can reach DN800 in larger custom projects.
When buying, ask for the wetted materials, the seat and packing material, the pressure-temperature rating, and the standard the valve is manufactured to. If the valve is automated, confirm the actuator type, whether electric or pneumatic, and the fail-safe position. For corrosive service, a lower-cost valve that fails in six months is more expensive than a properly specified valve that lasts for years.
Finally, treat ball valve failure as a maintenance signal, not just a part replacement. Each failure tells you something about the process, the installation, or the specification. Record the failure mode, the media conditions, and the service life. That record is the most useful tool for choosing a better valve next time.
 Headquarters: No. 539 Bohai Road, Beilun District, Ningbo City, Zhejiang Province, P.R. China

 +86-18067123177
